Key takeaways
- No solvent means no solvent residue; no rinse water means nothing to drain or dry.
- Suits baked-on deposits, scale and oxide on dry surfaces; it does not replace sanitation of food-contact surfaces where rules require it.
- Validation is still yours: define what clean means and measure it.
- Portable units clean equipment in place, which shortens changeover.
- Do not use where the beam cannot reach, or where regulation or customer rules require a specific method.
The problem with current methods
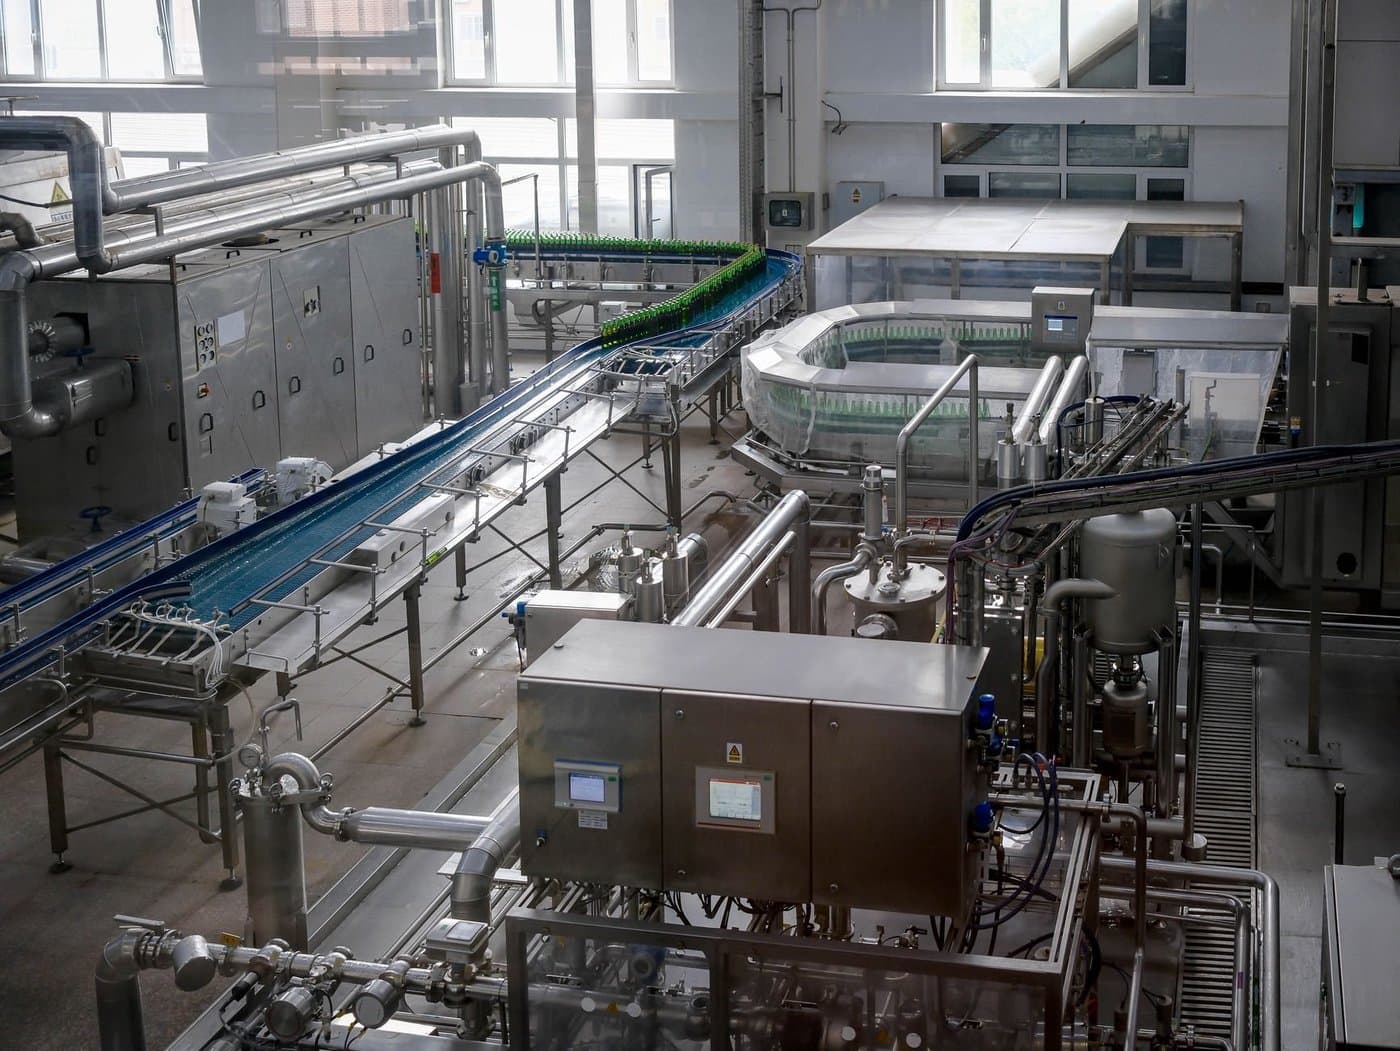
In food, pharma and rubber processing, the cleaning step usually comes with paperwork: swab tests for chemical residue, rinse logs and validation records for the wash-down. It also comes with downtime for draining, drying and often flushing a line.
The chemistry has its own issues. Caustic and acidic cleaners need handling and storage, and their effluent needs treatment. Solvents leave a residue risk and a smell. Water-based cleaning invites corrosion and microbial concerns in places that do not dry fully.
Baked-on deposits are difficult in any case. Burnt product on a heating surface, rubber build-up on moulds and rollers and scale on chambers often need soaking, scraping or abrasive methods that wear the equipment and leave the surface rougher, which then holds on to the next layer.
How a pulse laser handles it
A pulse laser removes the contaminant by absorption. Burnt product, rubber residue, oxide and scale absorb the 1064 nm pulse more strongly than clean metal and break away as vapour and fine particles, collected by an extractor. It adds no chemical to the surface. There is no solvent to leave a residue and no rinse water to drain.
The result is that the line can be ready sooner and there is less to ask about at audit time. The process is dry, so equipment does not need to dry out, and there is no wet corner to harbour growth.
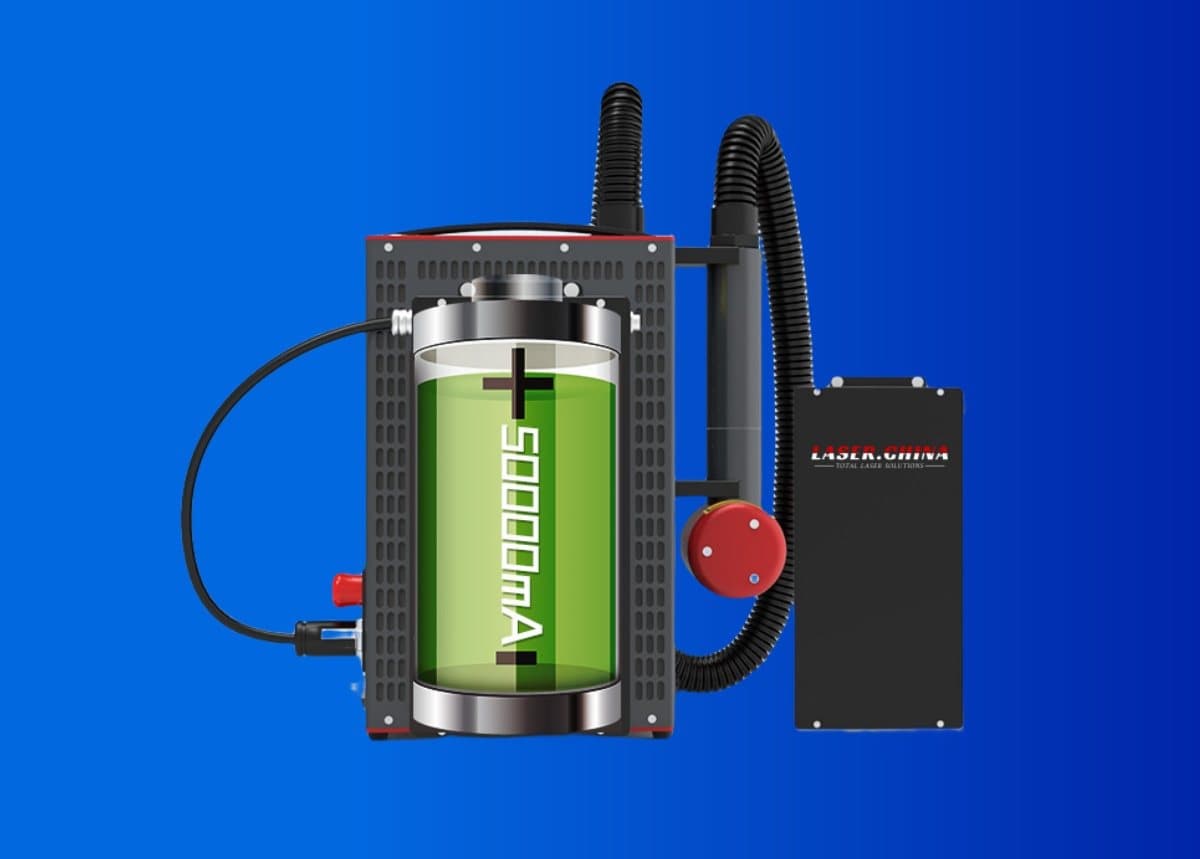
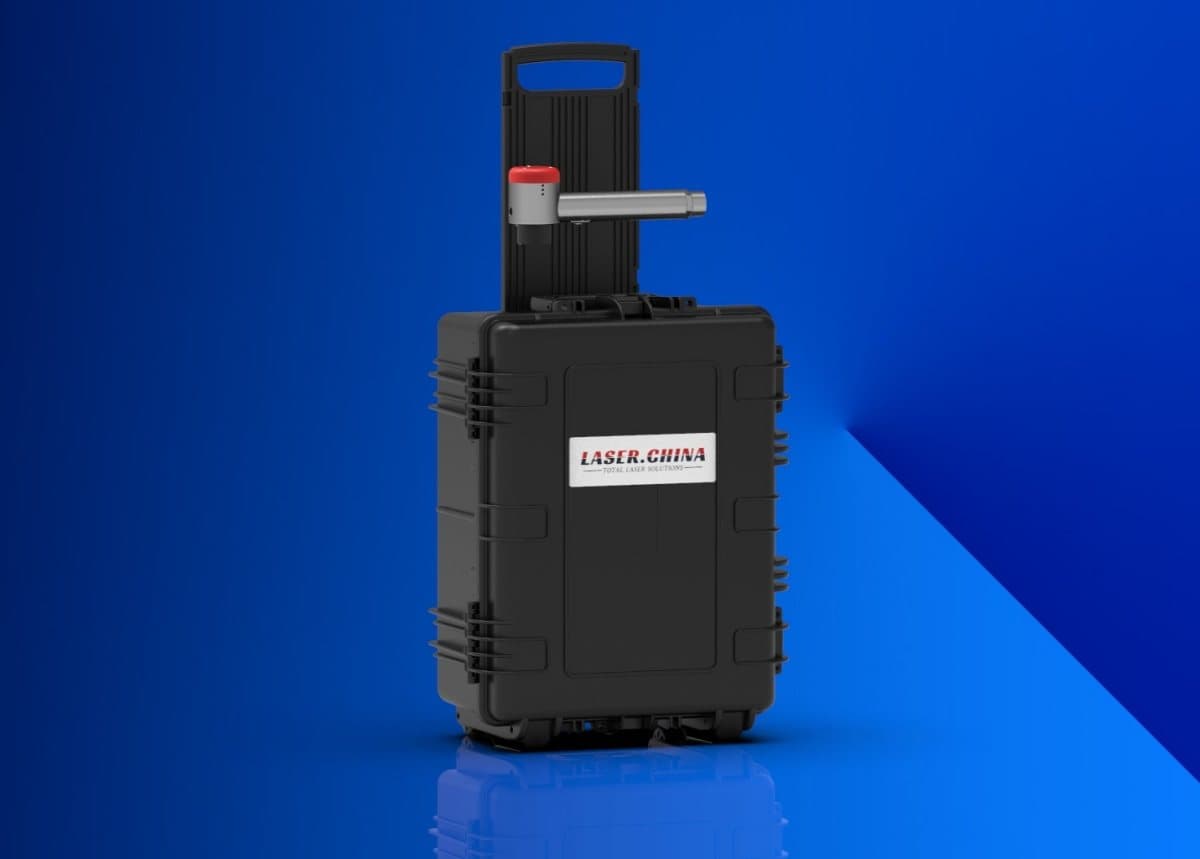
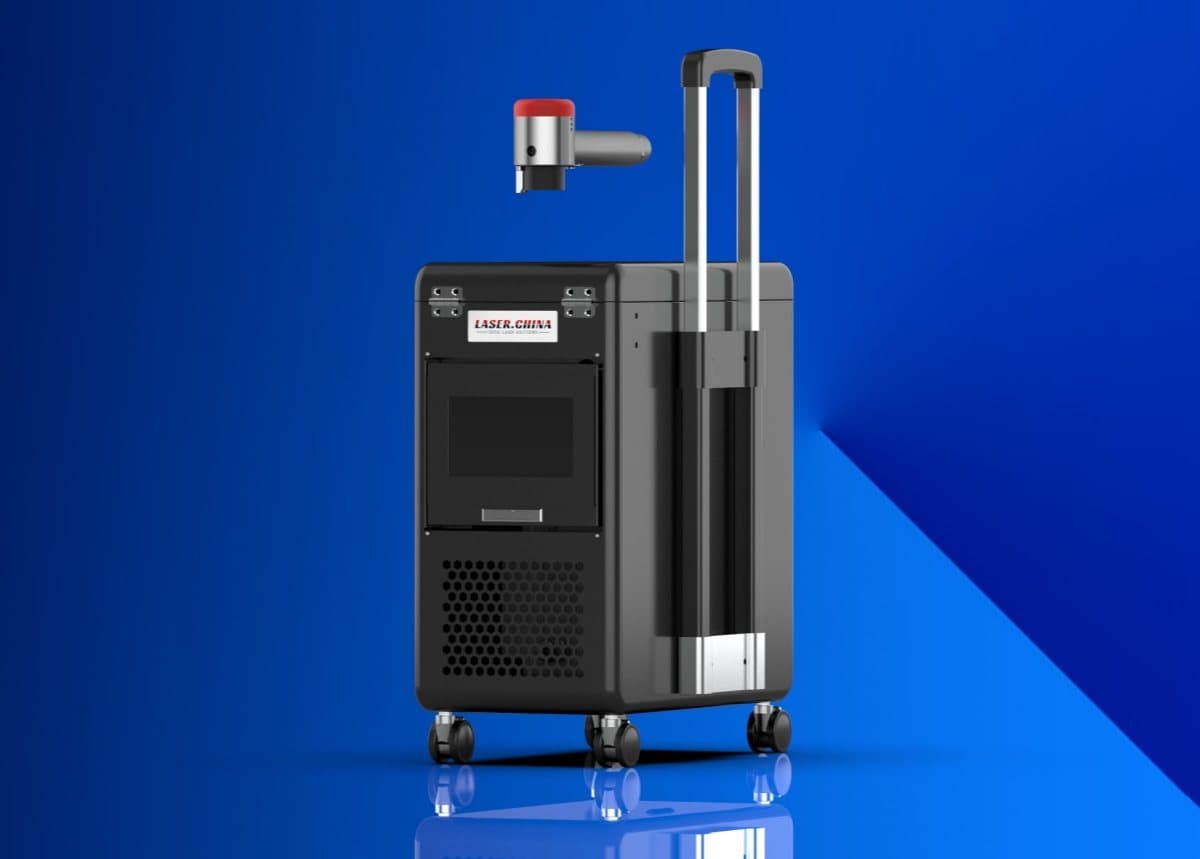
Because the unit is portable, equipment can be cleaned where it stands. A machine from 14 kg can go to a roller, a mould, a mixer blade or a heat-exchanger plate without a teardown. In rubber processing, that means cleaning moulds and tooling in the press, as with tyre moulds.
Because the pulse ends before heat penetrates, surface finish and dimensions of the equipment are kept. The laser is selective, which helps on engraved parts, seals and fine details.
Parameter direction
For food and pharma equipment, which is usually stainless steel with a finish to protect, choose shorter pulses and moderate energy. The aim is to remove deposit without roughening the finish or changing it, because a rougher surface is harder to keep clean.
A 100-300 W unit suits plates, blades, valves and small parts. A 300-500 W class covers larger or more heavily soiled equipment. Higher power is for sustained work on large surfaces in a continuous operation.
Air cooling is convenient for in-plant moves between stations. Water cooling matters for long continuous cleaning. In wash-down environments, protect the machine and cables from moisture, and keep the work area dry.
Rubber processing deposits respond to the same logic as tyre mould cleaning. Test settings on tooling with texture and vents before running on the whole set.
Practical notes
Change control matters in these sites. Adding a laser step is a process change, so involve quality early, write the cleaning instruction and agree what evidence you will keep. That makes the later audit a matter of showing records, not defending a decision.
A good first target is a part that is awkward today: a roller that is dismantled for cleaning, or a mould that waits for a wash. The gain in time is easy to see there, and the test is simple to run.
Set up the work area before the first pulse. Fix the part so it cannot move, route the cable and extraction hose clear of the operator, and agree the stop procedure. Keep the lens clean, because a dirty protective lens lowers delivered energy and makes results drift. These small habits cost minutes and prevent most surprises on the first day of real production.
What to test first
Step 1
Define the acceptance criteria with your quality team. Visual, swab test, ATP, residue assay or whatever your site uses.
Step 2
Clean a sample area at the lowest settings and run the usual test. Compare it against your current method.
Step 3
Check the surface finish for change. Measure roughness if you have a specification, and inspect for discolouration of stainless steel.
Step 4
Plan the fume and particle route. Extraction should be rated for the material you are removing, and the site should treat the collected waste according to its rules.
Step 5
Run the validation as you would for any new method, in your own system, and record the settings.
Limits: when not to use a laser
- Where regulation or a customer standard requires a defined sanitation method for food-contact surfaces, a laser step cannot be assumed to meet it. Check the requirement.
- The beam cannot reach into pipes, bores, dead legs or hidden crevices. Those need another method.
- Burnt organic material can release smoke and odour. Extraction is required, and cleaning in an area with sensitive product open is not appropriate.
- Soft, thin or coated surfaces may mark. Test before use.
- This is a Class 4 laser. Use 1064 nm eyewear, screen the area and follow the site hygiene and hot-work rules.
Next step
Compare the sectors we serve on the industries page, or tell us your equipment and deposit and we will plan a test.