
Key takeaways
- Where the part is worth more than the cleaning, any method that avoids damage is worth testing.
- Short pulses and low heat input keep base metal properties and dimensions.
- Start at the smallest power class and the shortest pulse; repair work rarely needs more.
- Approved maintenance data decides what is permitted, not the cleaning supplier.
- Treat every part as a trial on a sample first, and measure the base material afterwards.
The problem with current methods
High-value parts, such as aerospace components, tooling, turbine-related parts and precision assemblies, tend to arrive for refurbishment with coatings, oxide, carbon, residue and old paint on them. The part may be sound, but the surface is not.
The standard cleaning methods all carry risk. Abrasive blasting removes material and can change dimensions, work-harden or embed media. Aggressive chemicals can attack the base alloy, leave residue in joints and raise hydrogen concerns on high-strength steels. Manual sanding is inconsistent and risks scratching a critical face.
The consequence is that some parts are written off, simply because no cleaning method is considered safe enough. High-precision pulsed cleaning machines can turn parts that would otherwise be scrapped into refurbishable components, cutting costs and saving resources.
How a pulse laser handles it
A pulse laser removes coatings and contamination layer by layer. Each pulse is short enough that heat does not travel into the part, so the base material stays close to room temperature. Hardness, flatness and plating remain. No grit is pressed in and no chemicals touch the surface, so the risk of hydrogen embrittlement on high-strength steel is removed.
It is selective. You can remove paint and keep the anodised layer, clear oxide and keep plating or take off residue and keep the machined face. This layer control is what makes cleaning acceptable on parts where every micron counts.
It is also dry and local. A portable unit can work on an assembled part without disassembly, and masked areas can be left alone. The extractor collects what is removed.
And it is repeatable and recordable. A fixed parameter set gives the same result every time, which is what a quality system wants to see. The 100,000-entry parameter library and a 10-minute remote sample test are a way to reach a first setting faster.
Parameter direction
Use the smallest suitable power class, usually 100-300 W for precision and high-value work, with short pulse widths and modest energy. The aim is to remove the surface layer and nothing below it.
Increase energy only in small, measured steps, and prefer extra light passes to one strong pass. Frequency and overlap control evenness and heat build-up. Keep the beam moving, and use cooling breaks on thin sections.
For thin-walled or heat-sensitive parts, pulse width is the main protection. For thicker deposits, such as carbon or heavy oxide, higher single-pulse energy helps, but test the base material afterwards.
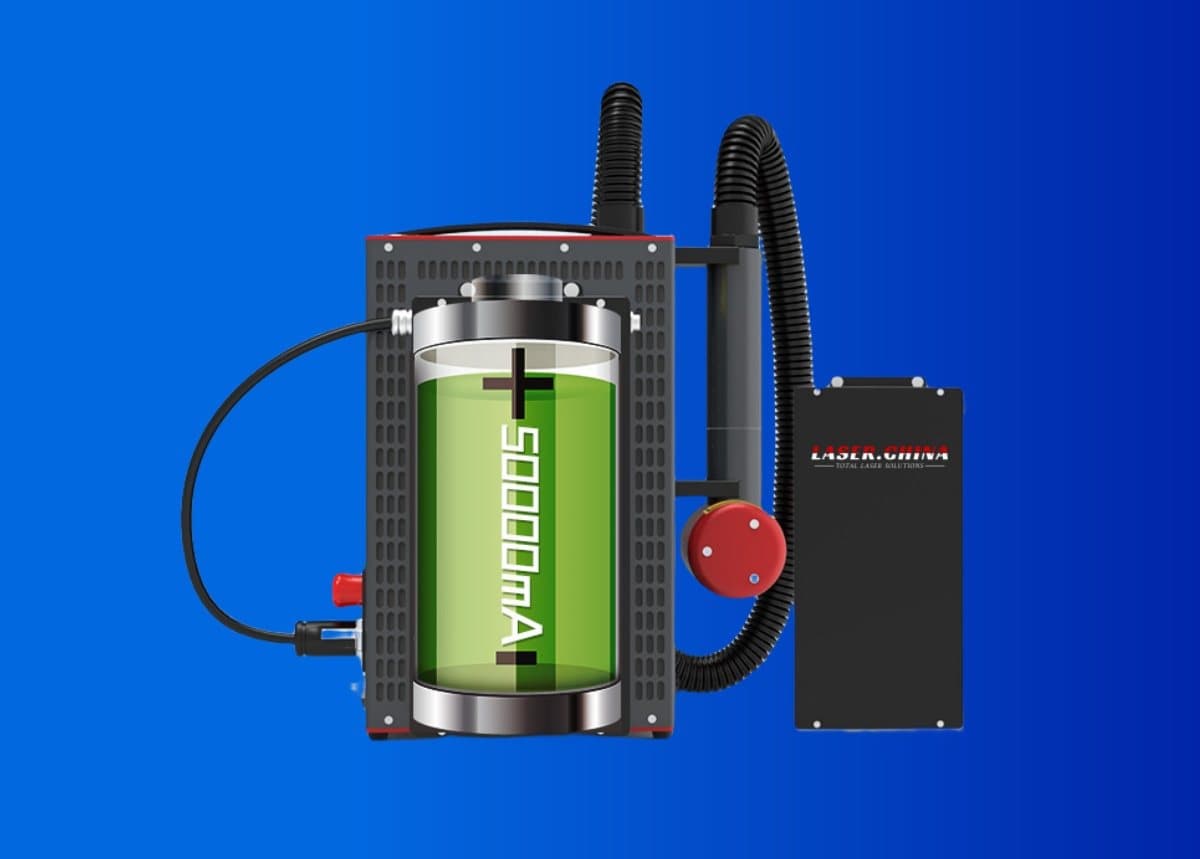
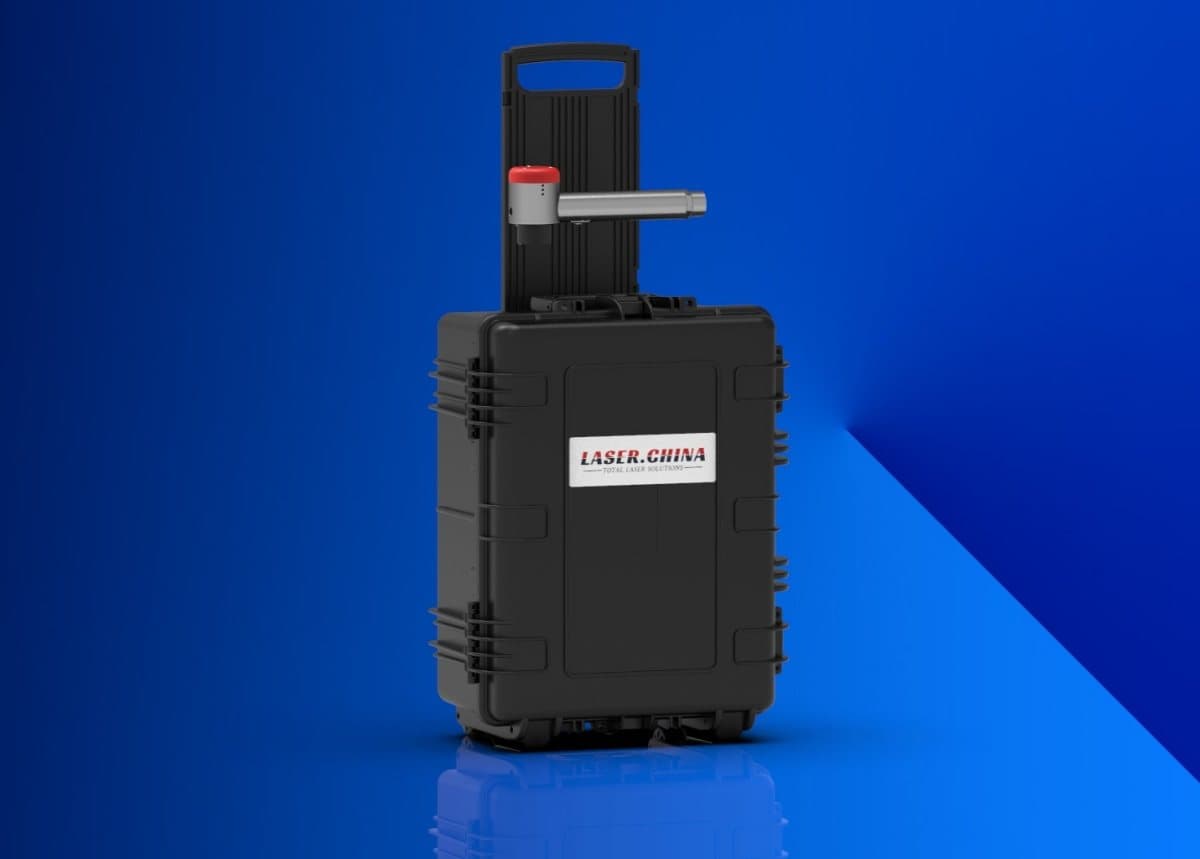
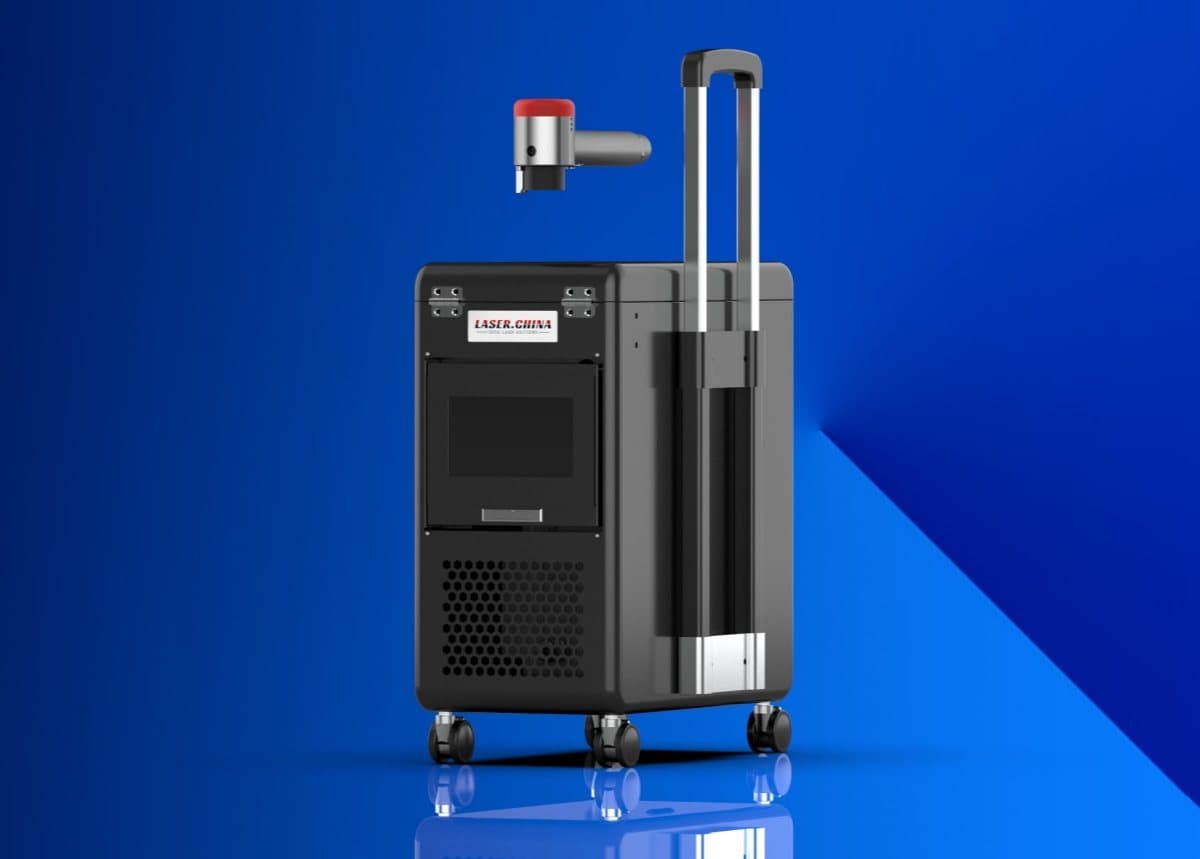
Format follows the work. A bench or fixture setup is natural in a repair shop; a portable unit suits large assemblies that cannot be moved. Air cooling suits intermittent use; a long run of work calls for water cooling.
Practical notes
Economics for this kind of work follow value, not area. A single refurbished part can justify the whole trial, so the right question is not square metres per hour but whether the part returns to service with its properties and records intact.
Keep the supplier conversation practical. Share the alloy, the coating, the contaminant and your acceptance criteria, and ask for a sample test on a coupon before anything else. For pricing of a given model, contact us for a quote.
Set up the work area before the first pulse. Fix the part so it cannot move, route the cable and extraction hose clear of the operator, and agree the stop procedure. Keep the lens clean, because a dirty protective lens lowers delivered energy and makes results drift. These small habits cost minutes and prevent most surprises on the first day of real production.
What to test first
Step 1
Start with a sacrificial part or coupon in the same alloy, coating and condition as the real item.
Step 2
Clean at the lowest setting, then inspect with magnification. Check for recast, discolouration, micro-cracking, changes in roughness and dimension.
Step 3
Where the part is fatigue-critical, add the tests your engineering authority requires, such as metallography, hardness or surface integrity checks.
Step 4
Define the working procedure, the settings and the inspection that follows, and run it past your quality department.
Step 5
Only then clean the production part, and keep the record with it.
Limits: when not to use a laser
- Aerospace and regulated parts are bound by their maintenance manuals and approvals. A laser process must be accepted by the relevant authority and the part owner before use. Do not assume it is.
- Do not use a laser where the coating is meant to be retained, or where the base alloy or a thin coating is not understood.
- Cracks, corrosion pits and internal damage are not repaired by cleaning. Inspect before and after.
- Features the beam cannot see, such as deep bores, need another method.
- This is a Class 4 laser. Use 1064 nm eyewear, screen the work area and use extraction.
Next step
See sector examples on the industries page, or send us the part material, the coating and your acceptance criteria to plan a trial.