Key takeaways
- Oil and machining residue absorb the beam, so they leave the surface as vapour and fine particles.
- The surface stays dry: no tank, no rinse water and no flash rust from water-based cleaning.
- Use it as a final surface step before welding, bonding or coating.
- Test with the same oil, the same material and your real downstream process.
- The beam cannot reach hidden bores and channels, so those still need another route.
The problem with current methods
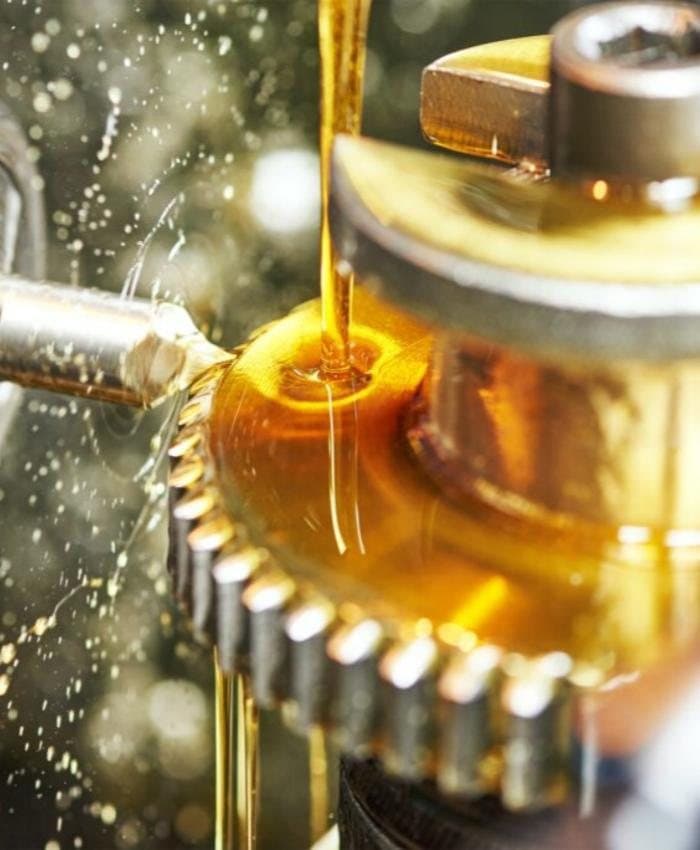
Almost every machined, stamped or cut part leaves a workstation with a film on it. Cutting fluid, drawing oil, grease from handling and fine swarf all end up on the surface, and they matter when the next step is welding, bonding, painting or inspection.
Solvent degreasing means tanks, fumes, storage, regulated disposal and operators who have to be protected. Water-based washers avoid some of that but need heating, rinsing, drying and treating effluent, and carbon steel can flash-rust before it leaves the line. Hand wiping depends on technique and often only spreads the film around.
There is also the question of what remains. A solvent can leave its own residue, and a wash can leave a water mark or a thin oxide that shows up later as a bonding failure.
How a pulse laser handles it
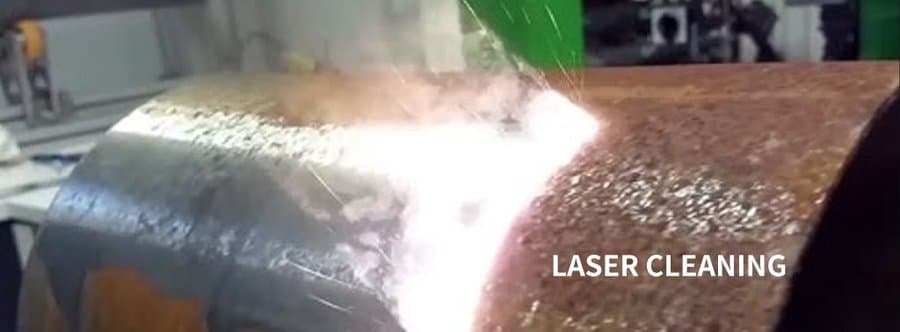
Oil and light residue absorb 1064 nm light much more than clean metal. A short pulse heats the film in an instant, and it leaves the surface as vapour and fine particles that the fume extractor collects. The pulse ends before the heat reaches the substrate, so the part stays close to room temperature.
The result is a dry surface. There is no solvent tank to maintain, no wash cycle to run and no flash rust from water-based cleaning, which is why laser degreasing suits carbon steel and parts that must go straight to a joint.
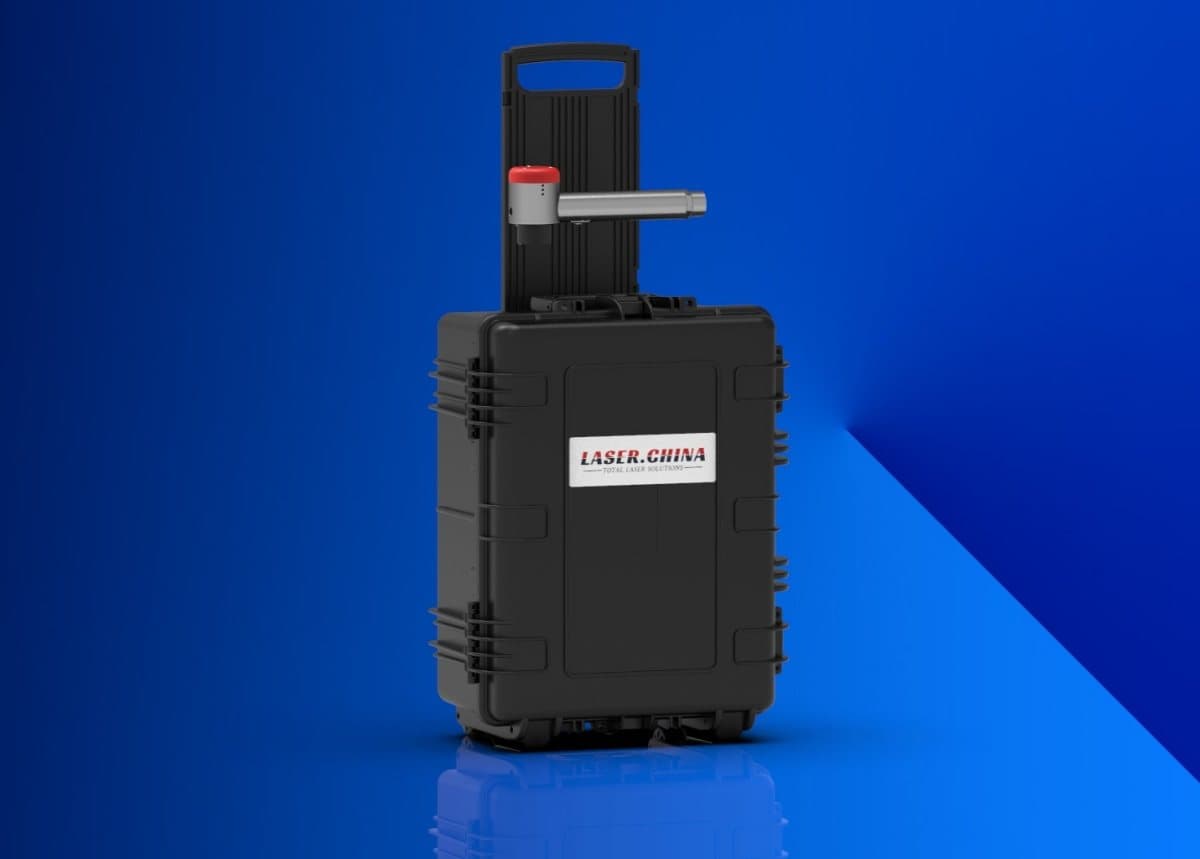
Because it is non-contact and portable, the laser can degrease a joint edge or a bonding area in place. A machine from 14 kg can go to the workstation, or a fixture can present the part under a scanner.
It is also repeatable. A defined parameter set gives the same finish on every part, which makes cleaning easier to specify and check. Laser degreasing does not replace washing for every job, but it is a fast final step where it applies.
Parameter direction
For oil and thin residue, short pulses at moderate energy are usually enough. The aim is to clear a film, not to ablate metal, so begin low and keep the beam moving.
Frequency and overlap matter more than raw power on thin films. A fast scan with even line spacing treats the whole area without hot spots. A 100-300 W unit covers most precision work. A 300-500 W class is the daily choice for heavier residue and larger parts, and higher power only helps when area is large.
Thick, aged or baked-on deposits behave differently from fresh oil. They may need higher single-pulse energy or more passes, and they may leave a carbon deposit that needs a second light pass.
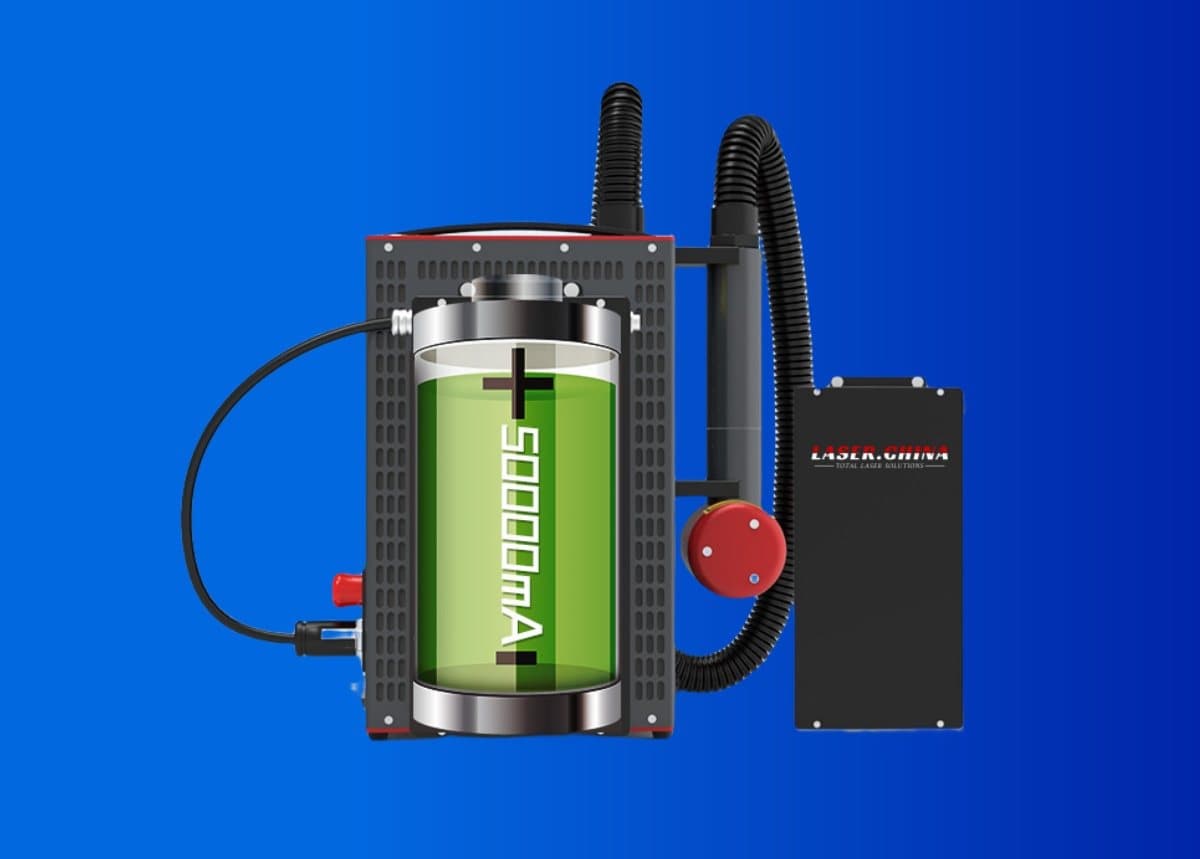
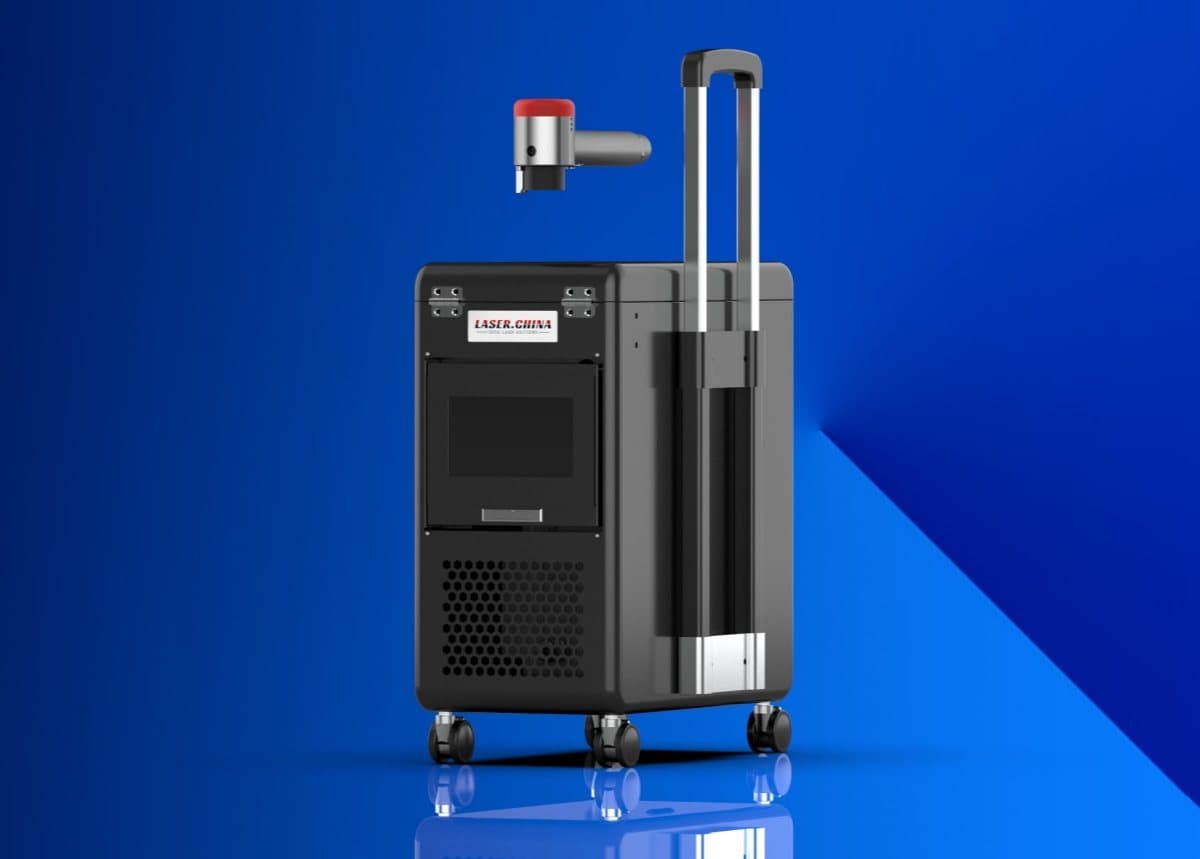
Air cooling is the simple choice for bench or station use. Water cooling is for continuous shifts. A trolley unit works between stations inside one plant, and a handheld head works on large assemblies you cannot move.
Practical notes
Treat the first parts through the process as a trial, and keep an unclean control piece from the same batch. Comparing a laser-cleaned part, a solvent-cleaned part and an untreated part in the same joint test shows what the cleaning is really contributing.
If your parts are oiled for corrosion protection in transit, think about the sequence: laser degreasing is most useful close to the joint, because the cleaned surface is active and the protective oil is no longer there.
Set up the work area before the first pulse. Fix the part so it cannot move, route the cable and extraction hose clear of the operator, and agree the stop procedure. Keep the lens clean, because a dirty protective lens lowers delivered energy and makes results drift. These small habits cost minutes and prevent most surprises on the first day of real production.
What to test first
Step 1
Take a part with the actual contamination: the same cutting fluid, the same oil and the same age.
Step 2
Clean a small area at low settings, then inspect it. A water-break test, a wipe test or a surface energy test, whichever your quality plan uses, will tell you more than the eye.
Step 3
Take the sample through the next process, such as welding or bonding, and test the result. A lap-shear or peel test is the usual check for adhesive work.
Step 4
Check for residual carbon or discolouration and adjust energy or passes to clear it.
Step 5
Document the working window, including time between cleaning and the next step.
Limits: when not to use a laser
- Hidden bores, blind holes and internal channels cannot be treated, because the beam must see the surface. Use a solvent or aqueous route there.
- Heavy oil pools should be wiped off first. Burning off bulk oil produces more smoke and is not good practice.
- Some oils and coatings release hazardous fumes. Use proper extraction, check the safety data sheets, and do not rely on the laser to treat contaminated waste.
- Laser cleaning does not replace validated wash processes where regulations or customer specifications require them. Check the requirement first.
- This is a Class 4 laser. Use 1064 nm eyewear, screen the work area and test on an offcut.
Next step
Browse similar tasks on the applications page, or contact us with your part, your oil and your next process for a remote test.