Key takeaways
- Moulds can be cleaned in the press, so the cost you remove is downtime, not just dirt.
- A short pulse takes off residue and release agent without enlarging vent holes or flattening fine texture.
- Start with a 100-300 W class unit for detailed cavities; step up only if output per shift demands it.
- Always test one segment or a low-risk area first and compare it against a clean reference.
- A beam cannot reach deep blind channels, so keep a chemical or dry-ice route for those.
The problem with current methods
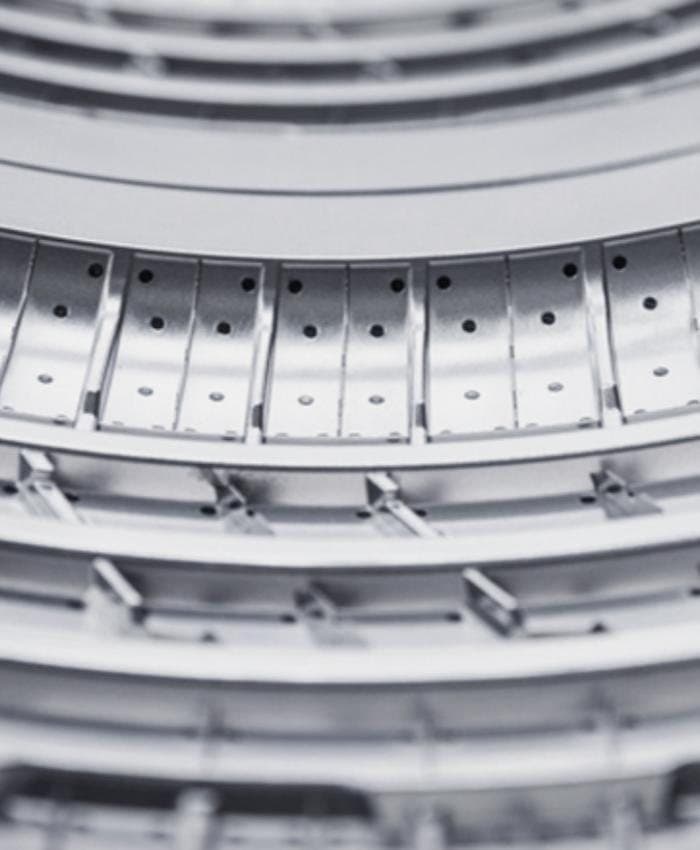
Rubber moulds foul in layers. Vulcanisation residue, silicone or wax-based release agent and fine rubber flash build up on the cavity, in the sipes and around the vents. The part still comes out, but the surface gets duller, the texture softens and the vents start to clog.
The usual answer is to pull the mould, crate it and send it to a cleaning station. That means a crane, a spare mould or a press standing idle, and often half a day gone. Each method also has a cost on the surface itself.
Sandblasting and bead blasting clean quickly but wear the cavity a little each time, which matters on engraved sidewall lettering and fine tread detail. Dry ice is gentler but needs a supply of pellets and does not always lift baked-on residue. Chemical baths work, then need rinsing, drying and waste handling. Hand tools scratch.
What these methods share is that the mould usually has to leave the press, and that the surface pays a small price on every cycle of cleaning.
How a pulse laser handles it
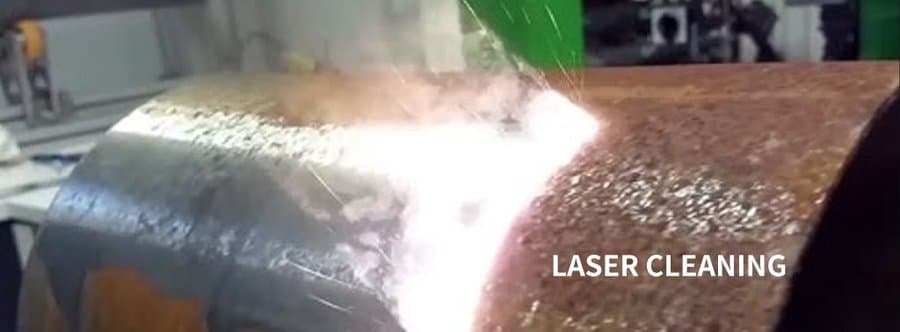
A pulse laser works by absorption. Rubber residue and release agent absorb 1064 nm light far more readily than bare tool steel or aluminium, so a short pulse heats the contaminant faster than the mould can conduct the heat away. The layer breaks off as vapour and fine particles, which a fume extractor collects.
Because each pulse ends before heat travels into the tool, the cavity keeps its geometry. Texture, engraving and vent holes stay as machined. This is the selective cleaning the source copy describes: clear the release agent, keep the mould texture.
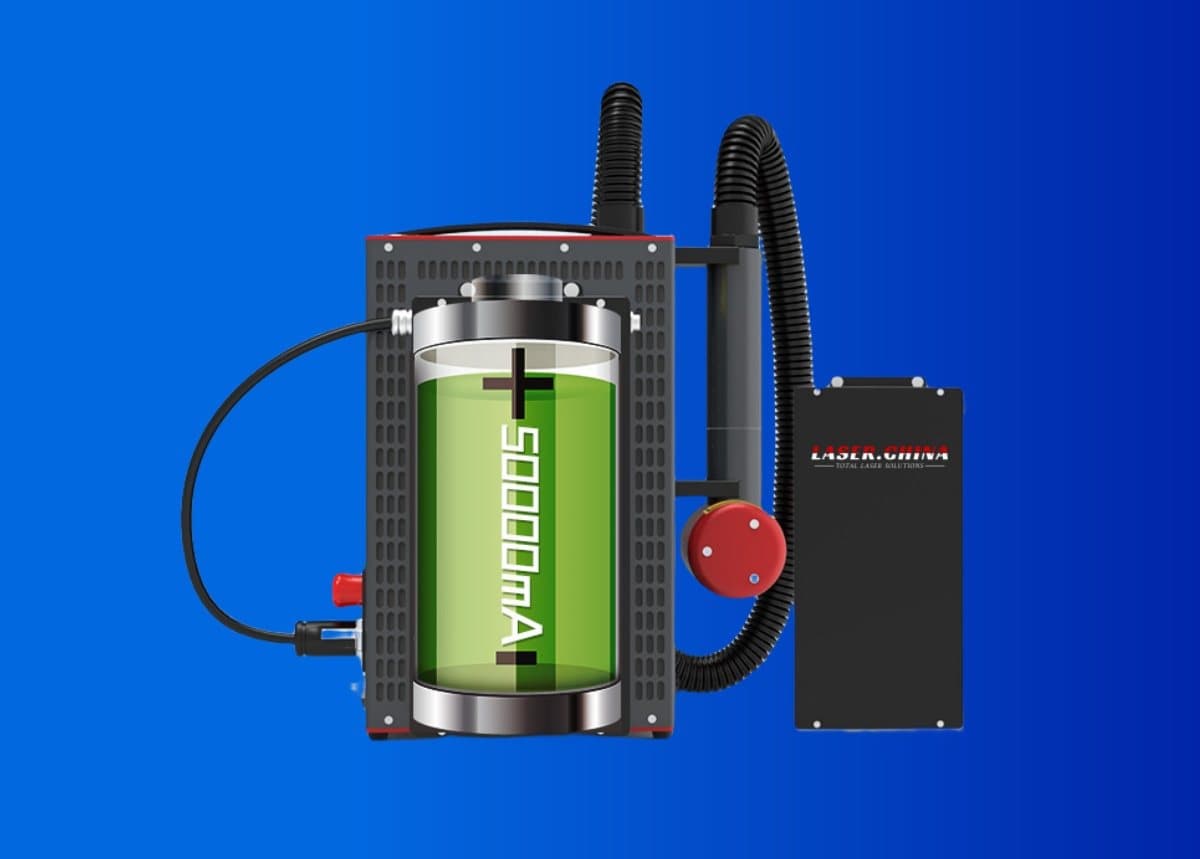
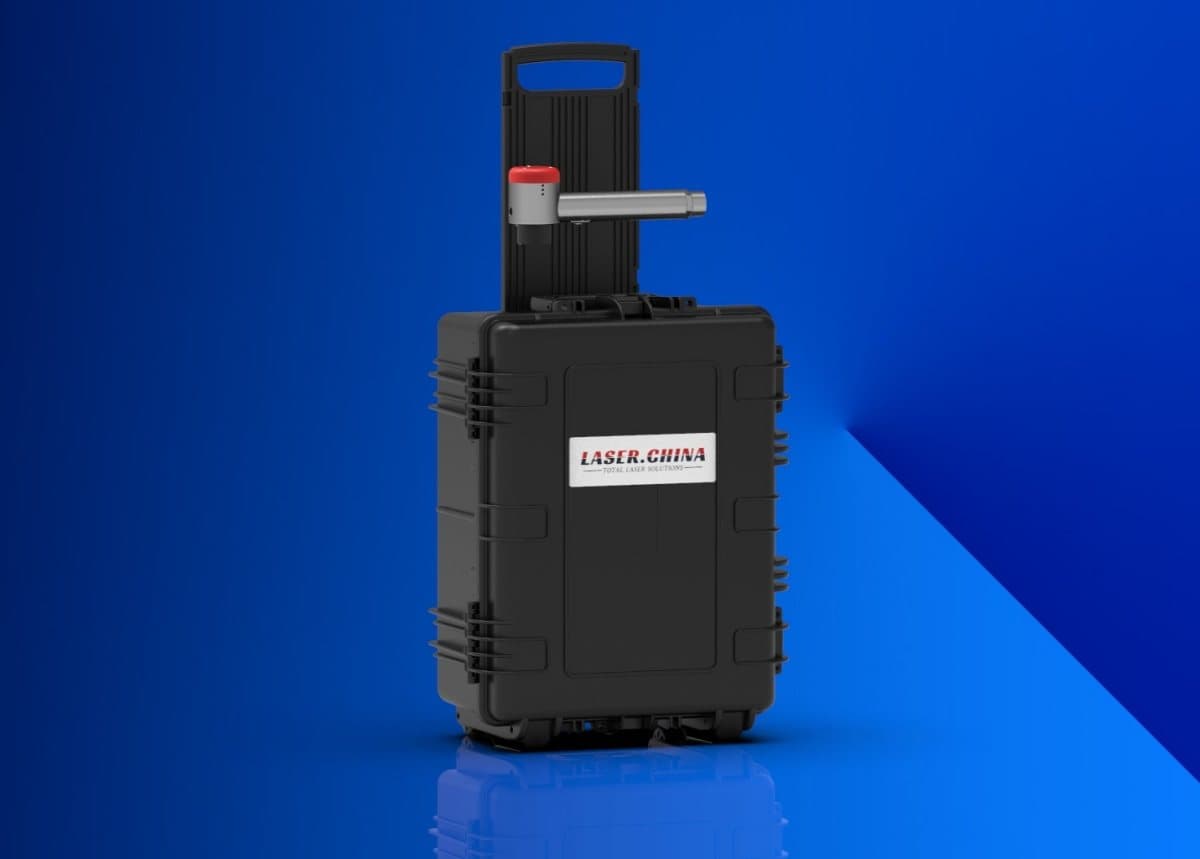
The machine is the other half of the story. A portable unit starting from 14 kg can be carried to the press, so the mould stays clamped and your operator works on it between runs. Nothing needs loading before the shift and nothing needs sweeping up after it. There is no grit to find in the guideways and no solvent smell in the bay.
The cleaning is also repeatable. Once a parameter set works on one tool, the next operator gets the same finish from it. Our parameter library of more than 100,000 entries, and the 10-minute remote sample test on your own material, are a quick way to get a starting point rather than finding one by trial.
Parameter direction
Pulse width is the first choice. Short pulses keep heat in the contaminant and out of the tool, which is what you want on fine texture and thin ribs. Longer pulses carry more energy per burst and help on thick, baked-on build-up, at the cost of more heat input. Because the MOPA source adjusts pulse width over 2-500 ns, you can start short and move up on the same machine.
Power class follows the job. A 100-300 W unit suits detailed cavities, vents and tools that are sensitive to heat. A 300-500 W class is the daily workhorse when you clean many moulds a week. Consider a higher class only when throughput is measured per shift, and bear in mind that more power is not automatically better on a textured face.
Frequency and scan overlap decide how even the surface looks. Too much overlap on one spot builds heat; too little leaves stripes. Scan size and speed set the width of each pass, so pick a pattern that follows the geometry of the cavity.
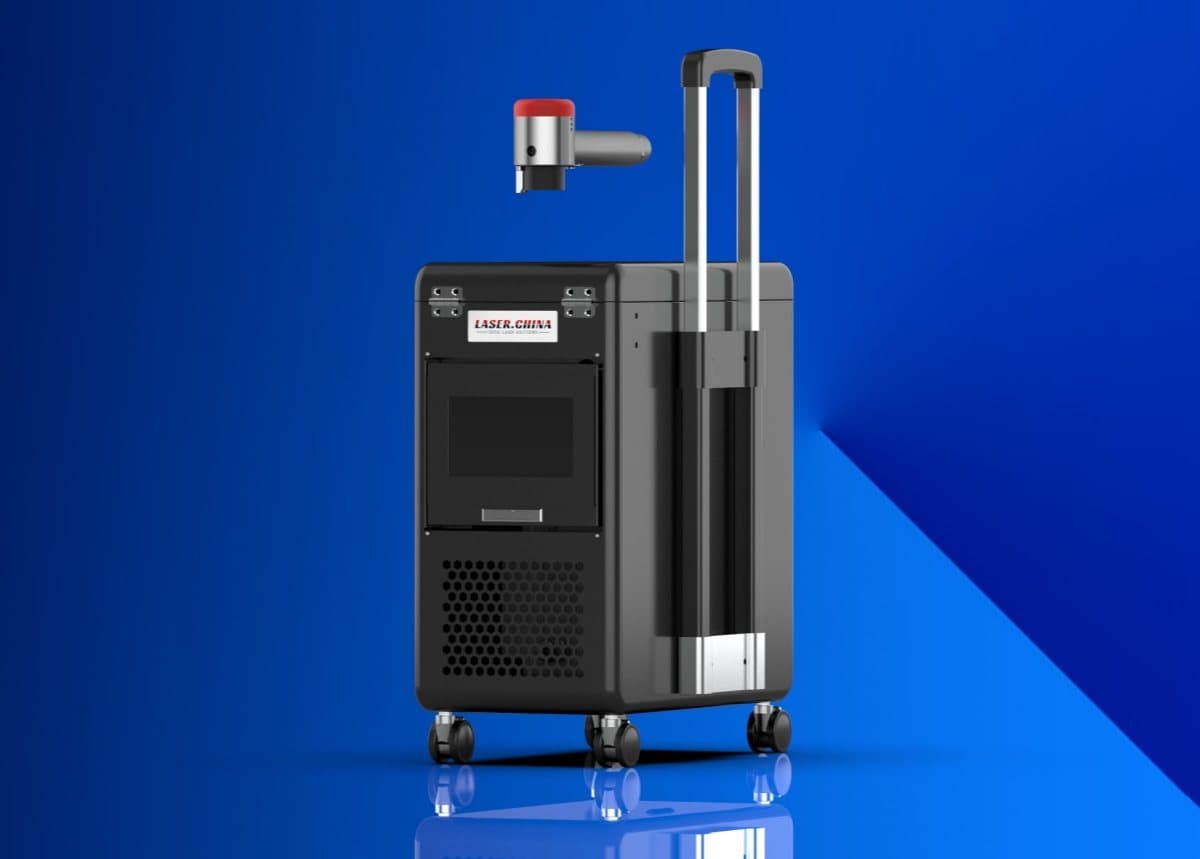
On cooling, a mould shop that cleans between runs favours air cooling: nothing to fill or drain. Water cooling makes sense for continuous shifts or hot ambient conditions. Format-wise, a backpack or carry case moves easily around presses, and a trolley unit suits a single plant with fixed stations.
Practical notes
Think about the whole cleaning cycle, not one pass. Most shops that adopt this treat laser cleaning as a scheduled step between production runs, with a written setting, a named operator and a quick visual check afterwards. That small routine is what keeps results consistent from one week to the next.
Also plan the operator side. Training is short, but the habit of keeping the beam moving, watching the surface and stopping on time is learned by doing. A few supervised sessions on scrap tooling are worth more than any manual.
Set up the work area before the first pulse. Fix the part so it cannot move, route the cable and extraction hose clear of the operator, and agree the stop procedure. Keep the lens clean, because a dirty protective lens lowers delivered energy and makes results drift. These small habits cost minutes and prevent most surprises on the first day of real production.
What to test first
Step 1
Pick one low-risk segment or a spare tool and clean a small patch at the lowest practical power with a short pulse.
Step 2
Inspect the patch under magnification against an uncleaned and a freshly cleaned reference. Check texture, edge sharpness and vent diameter.
Step 3
Raise energy or add passes in small steps until the residue clears, and note the setting that just works.
Step 4
Run a production test: clean in the press, restart and check the first mouldings for finish and release behaviour.
Step 5
Record the setting in a parameter sheet so every operator uses the same one.
Limits: when not to use a laser
- Deep blind holes, narrow channels and undercuts that the beam cannot see still need another method, such as dry ice or a solvent route.
- Very thick, hardened build-up cleans slowly with a low-power unit; plan several passes or a higher class.
- Hot moulds are a hazard in their own right. Follow your press shop rules on temperature before anyone works on a mould.
- This is a Class 4 laser. Use eyewear rated for 1064 nm, run fume extraction and screen the work area. Contaminants such as silicone or fluoropolymer residue can release fumes, so check the material data sheets for what you are heating.
- If a tool carries a delicate plating or coating, test first; some coatings absorb as strongly as the residue.
Next step
See the full range of use cases on the applications page, or send us a mould sample and your tool details and we will run a remote test.