Key takeaways
- Clean a strip along the joint, not the whole part, and weld in the same shift.
- The same machine can clean before welding and remove heat tint after it.
- A dry, grit-free surface means no media to trap in the joint and no second clean-up.
- Fewer pores are usually the visible result, because the arc meets bare metal.
- Check your welding procedure: some specifications require a particular surface profile or cleaning method.
The problem with current methods
Weld quality is decided before the arc starts. Mill scale, oxide, oil, cutting residue and moisture all end up in the pool, and they show up later as pores, spatter, lack of fusion and rework.
The standard preparation tools each have a downside. Flap discs and wire brushes are slow, leave debris and can press oxide or contaminants into the surface. Blasting leaves grit that must be cleaned out, and it is hard to use next to a machined datum. Solvent wipes remove oil but not scale and leave a film if they are not done well.
After welding, the bead and heat-affected area show heat tint. Removing it usually means pickling paste, a neutralising rinse and extra storage and handling, or more abrasive work with a different tool.
How a pulse laser handles it
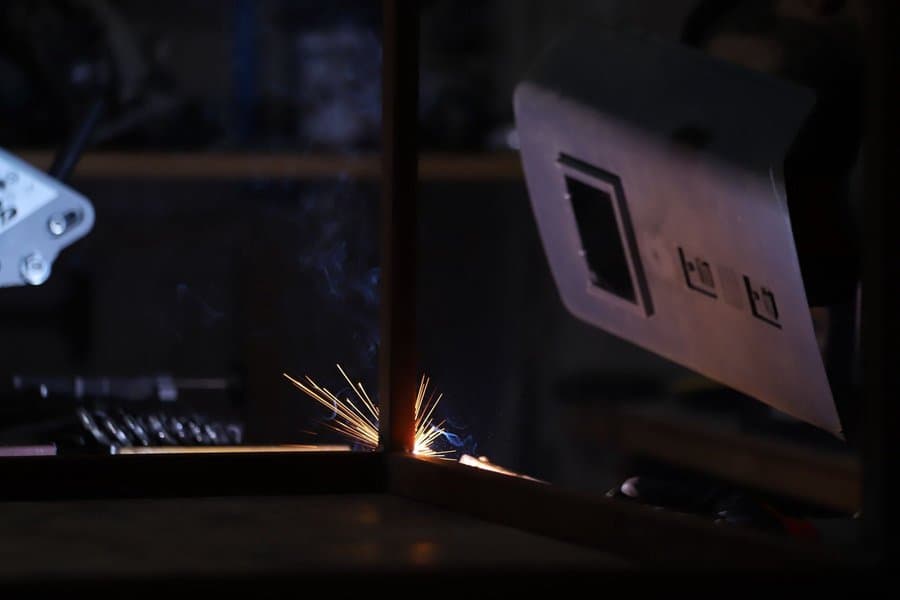
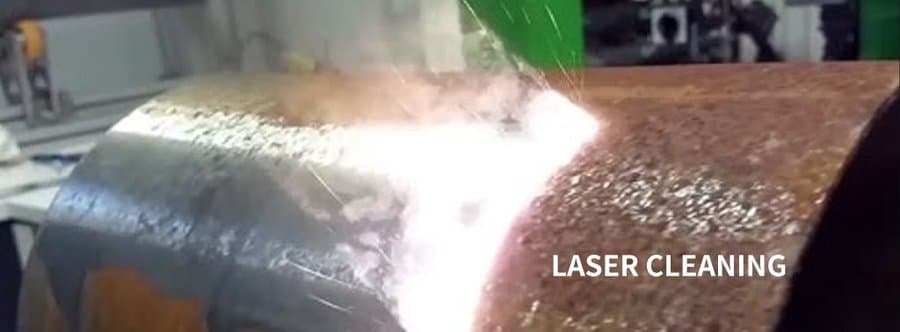
A pulse laser strips mill scale, oxide and oil from the joint edge, so the arc meets bare metal. The contaminant absorbs the 1064 nm pulse far more readily than clean steel, heats in an instant and leaves the surface as vapour and fine particles that the extractor collects.
The surface comes off dry, free of oil and oxide, with a fine texture. No grit is pressed in, and no solvent is left behind. For thin sheet and machined parts the short pulse means heat does not travel into the part, so distortion and dimensional change stay out of the picture.
After welding, the same machine removes heat tint from the bead and the area around it. There are no flap discs, pickling paste or neutralising rinse to stock, and no changeover between tools during the job.
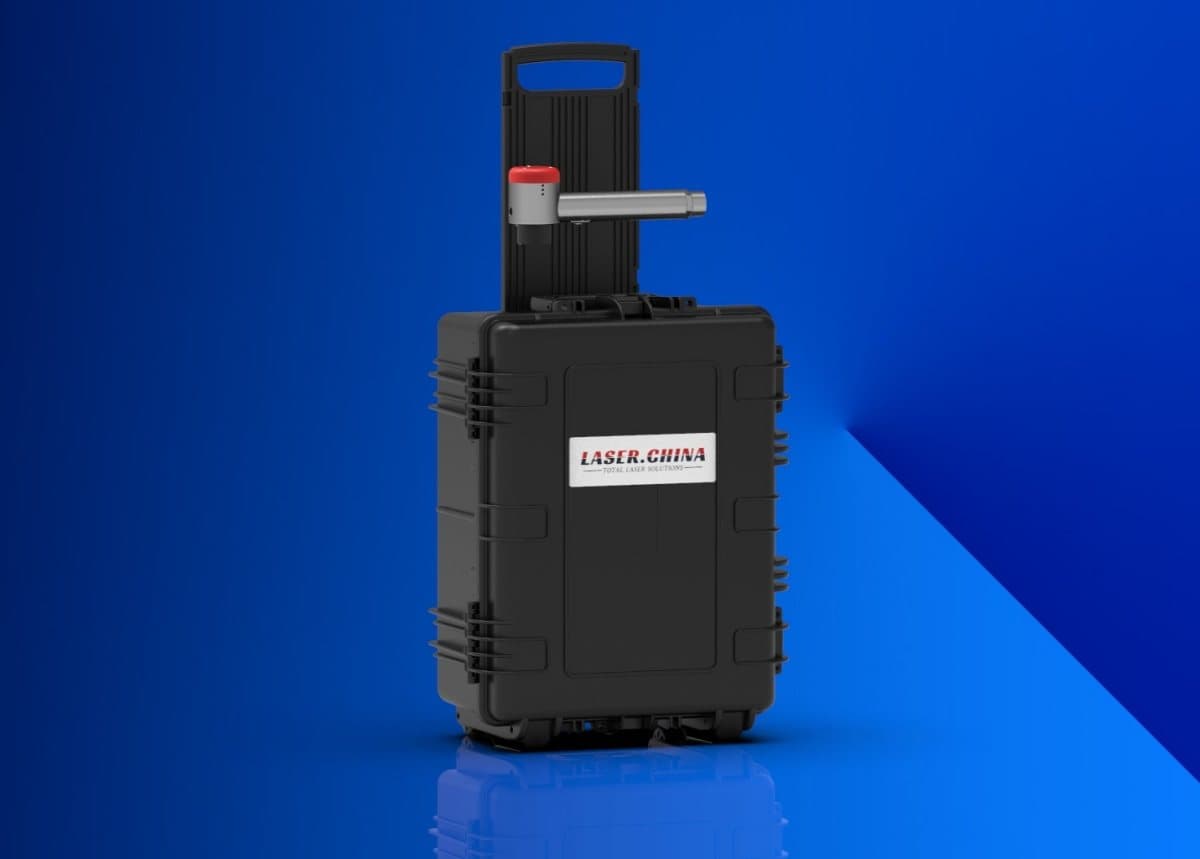
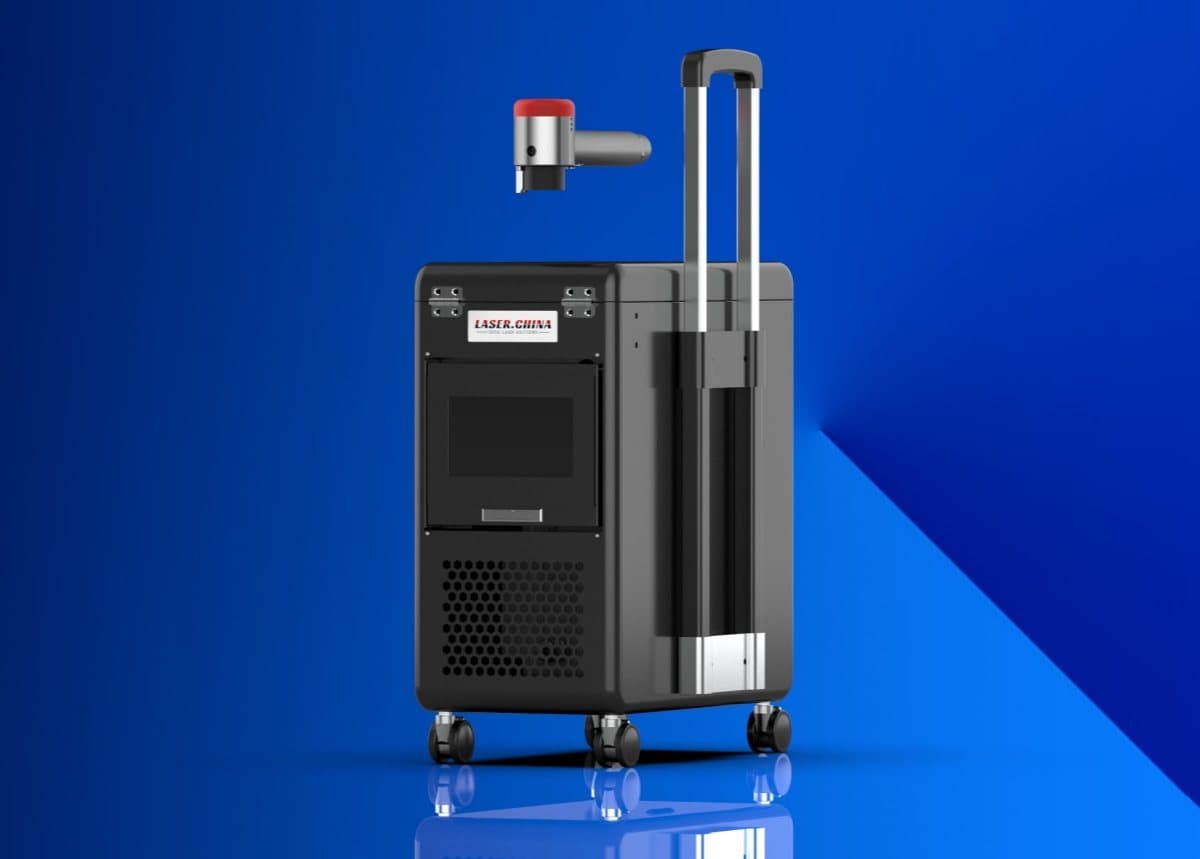
In a fabrication shop this also changes how work is organised. A portable unit goes to the joint, rather than the part going to a blast cabinet or a wash station, which suits large fabrications and site work.
Parameter direction
Joint preparation usually needs a strip of cleaned metal on each side of the weld line. Width depends on your process and procedure; clean a little more than the minimum rather than less.
For light oxide, thin mill scale and oil, a 100-300 W unit with short to mid pulse widths is enough and keeps heat down on thin material. For heavier scale and larger fabrications, a 300-500 W class is the daily workhorse. Heavy plate in a production line may justify a higher class.
Thick oxide needs higher single-pulse energy so it breaks through in fewer passes; a longer pulse width helps with this. Frequency and overlap govern the evenness of the cleaned strip, and an even strip welds more consistently.
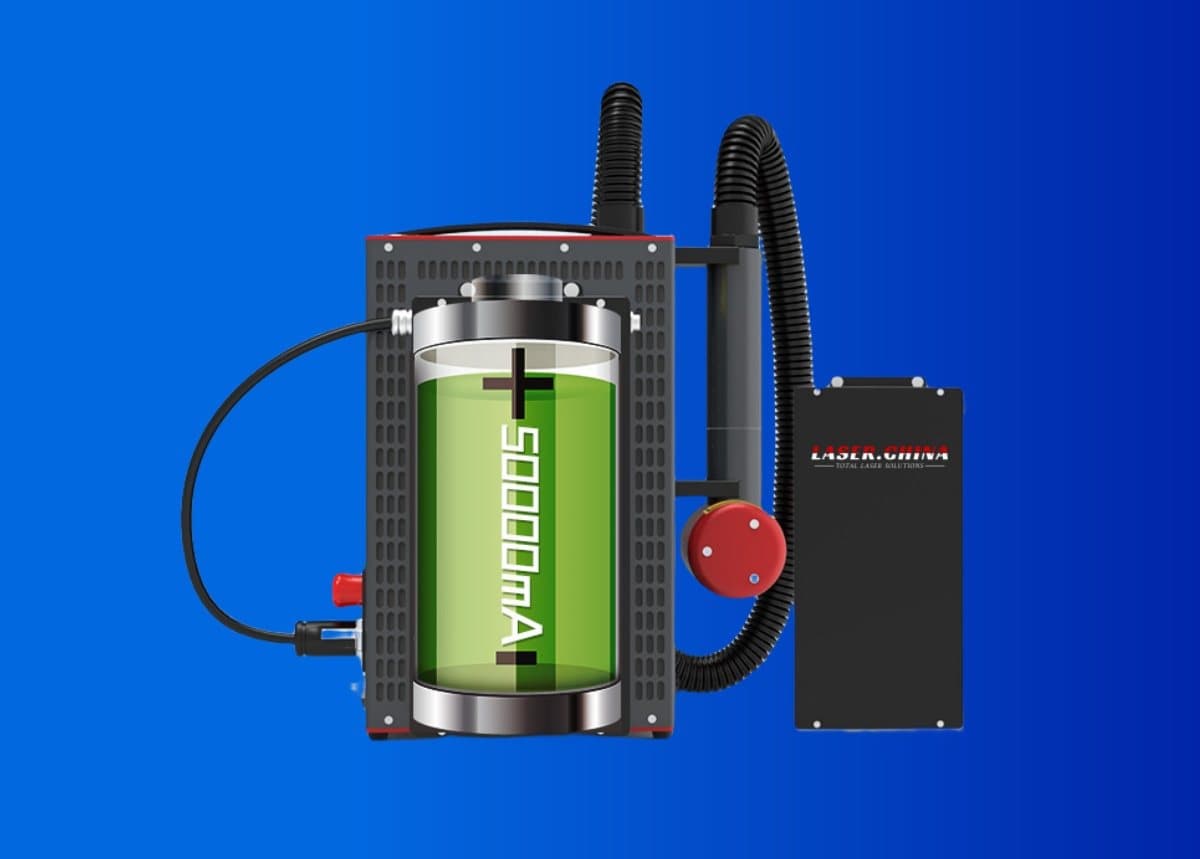
For portable work on site, air cooling and a lighter format reduce setup. In a production line running long shifts, water cooling gives sustained power. Remember that finished welds and cleaned joints are often tested, so a repeatable setting matters more than a maximum one.
Practical notes
In a fabrication shop the benefit is often organisational. Preparation stops being a separate job done by a different person with a different tool, and becomes a short step the welder or a helper can do at the joint, just before the arc.
For thicker plate and structural work, ask what dominates your time: rust and scale removal in bulk, or the final surface at the joint. The laser is strongest on the final surface. Bulk removal on heavy steel is a question of power class and may be better shared with another method.
Set up the work area before the first pulse. Fix the part so it cannot move, route the cable and extraction hose clear of the operator, and agree the stop procedure. Keep the lens clean, because a dirty protective lens lowers delivered energy and makes results drift. These small habits cost minutes and prevent most surprises on the first day of real production.
What to test first
Step 1
Take an offcut in the same material, thickness and surface condition as the real joint.
Step 2
Clean a strip at modest power, then weld a short test seam on it and on a conventionally prepared piece.
Step 3
Compare porosity, bead shape and fusion at the toe. Use your usual inspection method and, where required, your qualification test.
Step 4
Find the longest time between cleaning and welding that stays acceptable in your shop conditions. In a humid workshop, freshly cleaned steel can begin to flash-rust within hours.
Step 5
Fix the working window in your procedure: who cleans, how wide, how long until welding.
Limits: when not to use a laser
- If your welding procedure or coating specification requires a specific profile, such as a blast profile, laser cleaning alone may not meet it.
- Heavy rust and thick scale clean slowly on low-power units; use a higher class or another method for the bulk and the laser for the final surface.
- Cleaned steel is active. Weld or paint in the same shift, and avoid leaving it overnight in a damp bay.
- Oily or galvanised surfaces release fumes when heated. Use fume extraction and suitable respiratory protection, and check the material data.
- This is a Class 4 laser. Use 1064 nm eyewear, screen the area and test on an offcut first.
Next step
See related uses on the applications page, or open the selection guide to match a power class to your joint work.