Key takeaways
- Selective removal means choosing which layer comes off and stopping at the next one.
- Short pulses, moderate energy and controlled overlap are the levers; power alone is not.
- Colour and thickness of each layer decide how cleanly they separate, so test on your own coating system.
- Pulse beats continuous wave when the primer, anodised layer or plating must survive.
- A coating that needs a deep anchor profile still calls for blasting.
The problem with current methods
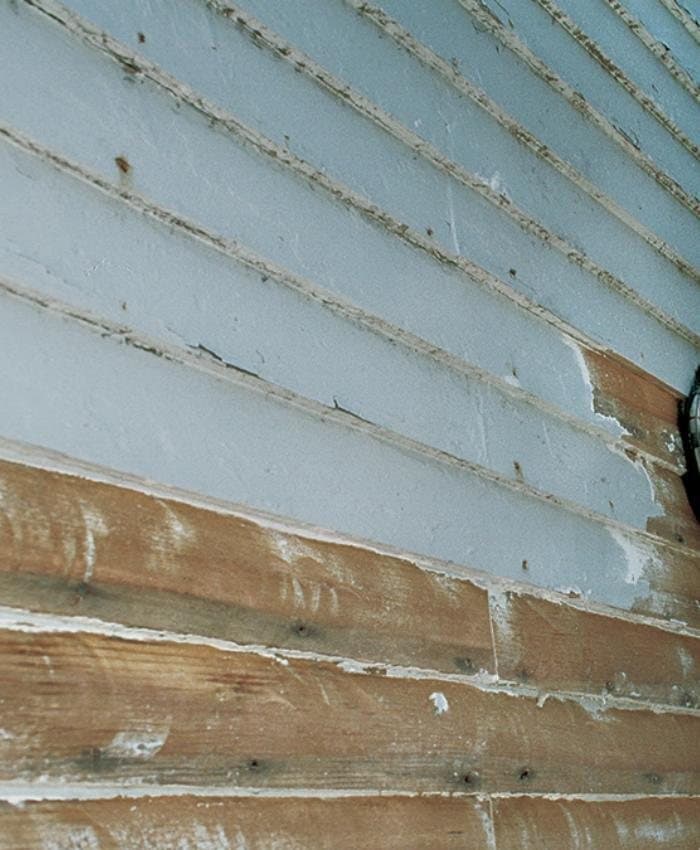
Many jobs do not call for bare metal. Repainting an aircraft panel, refinishing a machine frame or repairing a spot on a coated structure often needs only the topcoat gone. The primer is sound and removing it means redoing work you did not have to do.
Chemical strippers rarely stop at the topcoat. They soak through the whole system, and then the primer and the base need rinsing, neutralising and drying. Blasting stops only if the operator stops, and in practice it takes some metal with the coating and leaves a rough profile. Sanding is slow, uneven and creates dust across a shop.
Anodised, plated and conversion-coated parts are even harder. A blast that clears the paint also clears the finish under it. In those cases the choice is often to scrap or to strip everything and start over.
How a pulse laser handles it
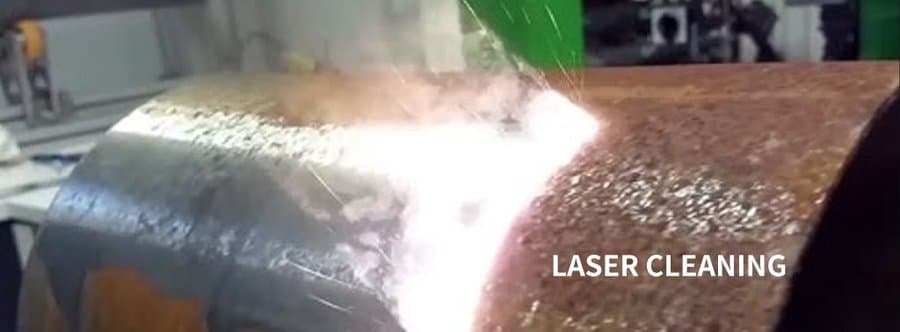
A pulse laser controls removal layer by layer. Each pulse lifts only a very thin film, and how much energy gets into each layer depends on how strongly that layer absorbs 1064 nm light. A dark, thick topcoat usually absorbs far more than a light primer or a metal surface beneath it, so at the right setting the beam strips the top and loses interest in the next.
This layer control is where pulsed cleaning earns its place. Because the pulse ends before heat can travel, the base material stays close to room temperature and the primer does not bake or blister. Pulse width is tuned independently on a MOPA source, which is what makes the selectivity workable.
You work with the beam, not against the part. The operator sees the surface change under the scan and stops at the primer. A finished area is dry, free of dust and ready for a recoat, often in the same shift.
The process is dry and non-contact, so there is no media to sweep and no rinse water to drain. For repair work it also means you can strip a spot, a seam or an edge next to an intact coating without masking half the structure.
Parameter direction
Pulse width and energy per pulse set the depth of each pass. Start with short pulses and moderate energy so the heat stays in the topcoat. If the topcoat is thick, a higher single-pulse energy breaks through in fewer passes, but watch the primer for any change of colour or gloss.
Frequency and overlap decide how uniform the strip is. Heavy overlap on one spot adds heat and can mark a primer; light overlap leaves stripes of unremoved paint. A scan pattern with consistent line spacing helps.
For power class, thin sheet and delicate coatings sit comfortably in the 100-300 W range. A 300-500 W class suits routine repair work on larger panels. Higher classes are for large areas and heavy layers run across full shifts, and they are not the right start for a selective job.
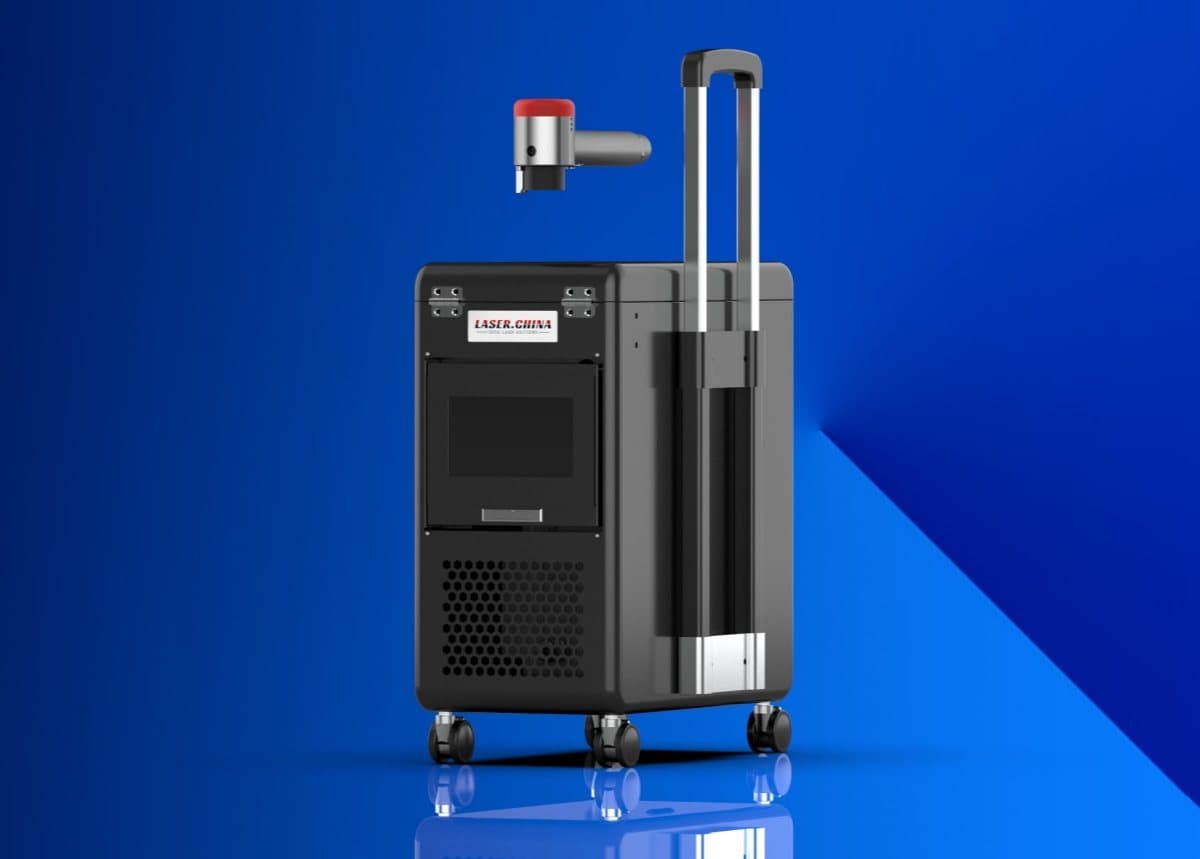
Choose air cooling for work that moves between sites and water cooling for sustained high power or hot conditions. A lighter format lets you work on vertical or overhead surfaces without a crane or lift.
Practical notes
It helps to write down what the surface must be after the job, not just what must come off. A repaint needs a sound, clean primer; an inspection needs a visible substrate; a bonded repair needs a defined surface condition. Once that target is written, choosing the pulse width and energy becomes a smaller decision.
Keep the primer's own condition in mind as well. Old, chalky or damaged primer may need to go anyway, and in that case a more aggressive setting or a different method is the better choice.
Set up the work area before the first pulse. Fix the part so it cannot move, route the cable and extraction hose clear of the operator, and agree the stop procedure. Keep the lens clean, because a dirty protective lens lowers delivered energy and makes results drift. These small habits cost minutes and prevent most surprises on the first day of real production.
What to test first
Step 1
Take an offcut or a hidden area with the same coating system and clean a small patch at low power, short pulse.
Step 2
Look for the primer, not just for removal: check colour, gloss and thickness after the pass. A coating thickness gauge helps if you have one.
Step 3
Increase energy or add a pass in small steps. Stop at the setting where the topcoat clears and the primer is unchanged.
Step 4
Test adhesion on the recoat. Apply your paint to a laser-cleaned patch and compare it against your normal preparation.
Step 5
Write down the setting and the operator technique, so the next job starts from a known point.
Limits: when not to use a laser
- Where the topcoat and primer have similar colour and thickness, the laser has little to tell them apart, and selectivity gets harder.
- Very thick multi-layer systems clean slowly with a low-power unit. Continuous wave can be quicker where heat on the substrate is acceptable.
- Coating systems that specify a deep anchor profile need blasting before recoat; laser cleaning leaves a finer texture.
- Some coatings release fumes when heated. Use extraction, check the material data sheet, and wear eyewear rated for 1064 nm.
- This is a Class 4 laser. Test on an offcut before touching the part.
Next step
See related jobs on the applications page, or send us a coated sample for a remote test on your own system.