
Key takeaways
- Masonry is cleaned dry and without contact, so no grit, water or poultice enters the stone.
- The goal is to remove the dirt layer and stop at the original surface, which takes judgement and test patches.
- Low-power units with fine control are the usual start; scale up only for large, robust areas.
- On heritage work, involve the conservator before any test and follow their brief.
- Porous, friable or polychrome surfaces can be harmed; test first, and accept that some will be unsuitable.
The problem with current methods
Stone and brick collect dirt in layers. Urban soiling and black crust from pollution, algae, lichen and moss, salts, smoke deposits and graffiti all sit on or in the outer skin of the masonry.
The usual methods take something from the stone. Abrasive blasting removes dirt together with surface, softening edges and carved detail. High-pressure water drives moisture into porous material and can carry salts with it. Chemical poultices and strippers can leave residues, stain the stone and raise questions of waste and runoff. Scrubbing with brushes wears soft stone.
For heritage surfaces the cost of surface loss is permanent. Once the original skin is gone, it does not come back, so the method has to take the dirt and nothing else.
How a pulse laser handles it
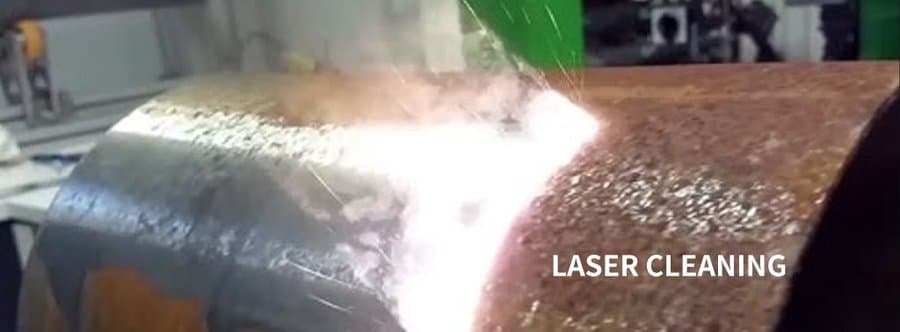
A pulse laser removes the dirt layer through absorption. Black crust, biological growth and spray paint usually absorb 1064 nm light more strongly than pale stone, so at low power the contaminant breaks away while the stone surface reflects more of the beam and stays in place. In effect, the process tends to slow down as the dirt gets thinner.
Because the process is dry and non-contact, no water, grit or chemicals enter the masonry. Carved detail, mouldings and fine edges are not pressed on by anything. Soiling, biological growth and graffiti can come off without the surface loss that blasting or chemical poultices cause.
The portable format helps on site. A lightweight unit can be used from scaffolding or a platform, close to the wall, with a fume extractor taking away the particles. There is no booth and no run-off to manage.
Results depend on the material and the contaminant, and so does the pace. The operator works slowly, watching the surface and stopping when the original face is reached. It is a conservation-style technique, closer to careful hand work than to a production line.
Parameter direction
Use low power and short pulses first. A 100-300 W class unit with fine control is the usual choice for stone, because the aim is to clean a thin layer without heating the surface. High-power units are rarely suited to sensitive masonry.
Energy and overlap are the main levers. Begin with low single-pulse energy and light overlap, and raise them in small steps. Watch for colour change, yellowing, glazing or any sign of heating.
Brick and robust masonry can tolerate more energy than soft limestone or sandstone, but the difference is a matter of testing rather than assumption. Dark and light stones also behave differently, because they absorb differently.
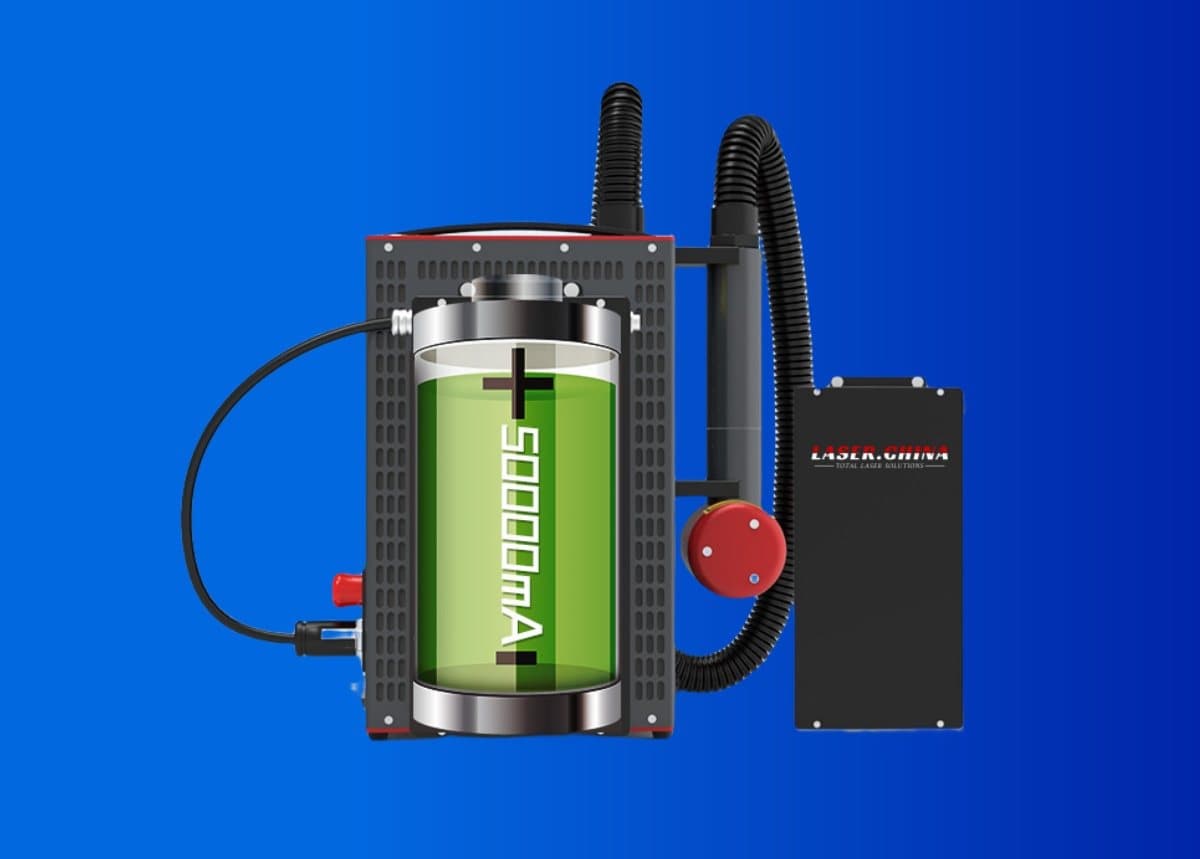
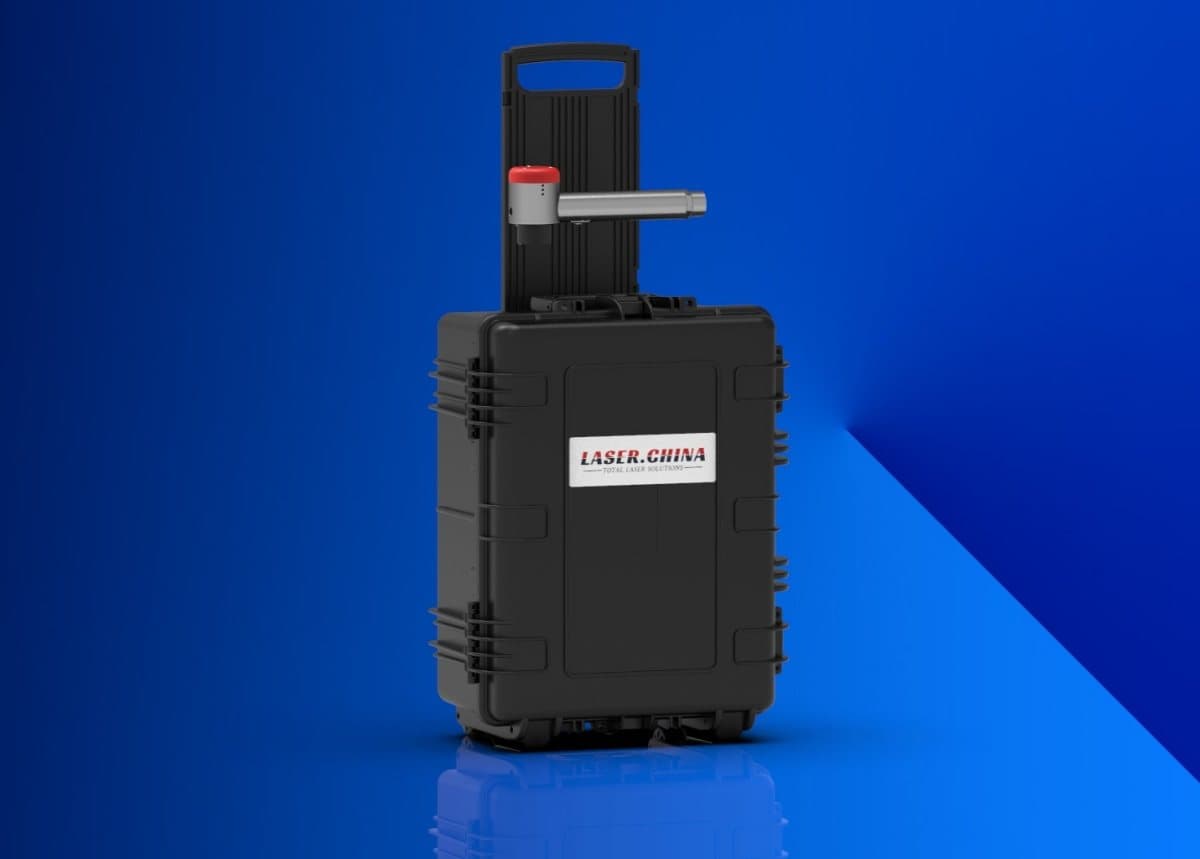
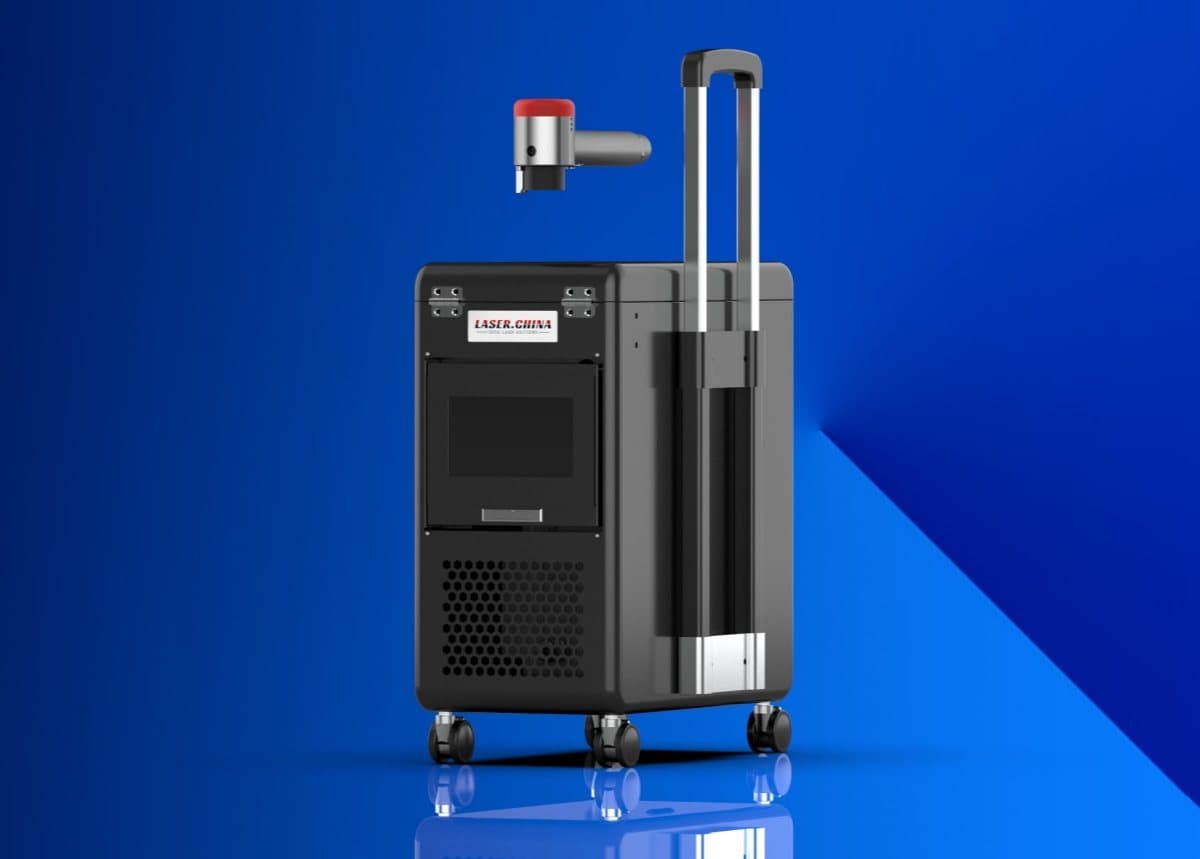
For site work, a backpack or carry-case format that travels easily is more useful than extra power. Air cooling avoids a water supply on scaffolding. Always include fume extraction, as removed material can include biological matter and old paint.
Practical notes
Record the work. Photograph each test patch, note the settings and the date, and keep the images with the project file. On heritage projects, this record is part of the work and often part of the approval.
Weather matters too. Damp, cold or windy conditions change how stone behaves and how well fume extraction works on site, so schedule test patches in conditions close to those of the main job.
Set up the work area before the first pulse. Fix the part so it cannot move, route the cable and extraction hose clear of the operator, and agree the stop procedure. Keep the lens clean, because a dirty protective lens lowers delivered energy and makes results drift. These small habits cost minutes and prevent most surprises on the first day of real production.
What to test first
Step 1
Agree the scope with the owner and, for listed or historic work, the conservator. Document the surface with photographs before and after.
Step 2
Select a small, inconspicuous patch of each stone type and each contaminant. Test at the lowest settings.
Step 3
Check the patch under magnification and in raking light. Look for loss of detail, colour change and cracking in the stone.
Step 4
Increase energy in small steps and note where cleaning is effective and where it begins to affect the surface. Stop before that point.
Step 5
Let the patch stand and review it after a few days, in different light, before committing to the rest of the wall.
Limits: when not to use a laser
- Friable, flaking, heavily salt-laden or already-damaged stone can be harmed by any cleaning. Consolidate or consult a conservator first.
- Painted, gilded or polychrome surfaces and historic limewash may absorb like the dirt and be lost with it.
- Some stones contain iron compounds or dark minerals that can discolour. Test on that stone specifically.
- Pace is slow compared with blasting on large areas. Weigh the time against the value of the surface.
- This is a Class 4 laser. Use 1064 nm eyewear, screen the work area and keep the public away. Extract and collect removed material.
Next step
Read about similar surface work on the applications page, or send us photographs of the surface and the contaminant to discuss a test patch plan.